How to Read Drum Notations: A Musician's Guide
You’ve probably been here. A drum chart is sitting in front of you, the groove in the song sounds clear enough, but the page still feels like a puzzle. You can tell the notes mean something useful. You just can’t yet turn those marks into sound fast enough to play with confidence.
That gap is normal.
Learning how to read drum notations isn’t about becoming chained to paper. It’s about getting a map for rhythms you can already begin to hear. The page shows you where the sounds land, but your ear tells you whether the groove feels right, whether the hi-hat is pushing, whether the snare speaks sharply or lays back.
That’s why good reading and good ear training belong together. Your eyes help you decode. Your ears help you play music instead of symbols. If you train both, you don’t just become someone who can follow a chart. You become someone who can play by ear, improvise more naturally, and lock in with other musicians without guessing.
Table of Contents
- From Blank Page to Killer Groove
- The Anatomy of a Drum Chart
- Feeling the Rhythm By Counting Subdivisions
- Adding Life and Expression To Your Playing
- Putting It All Together A Worked Example
- From Reading to Hearing A Daily Practice Plan
From Blank Page to Killer Groove
A good drum chart does one simple job. It turns sound into something you can see and repeat.
If you’ve ever heard a fill in a song and thought, “I know I could learn that if someone just showed me where it lands,” notation is that help. It’s not there to replace listening. It’s there to make listening more precise.
A lot of drummers worry that reading will make their playing stiff. That only happens when they stare at the page and stop listening. Strong readers do the opposite. They use the page to catch details their ears missed, then they use their ears to bring the part to life.
Practical rule: Read the notes, then listen for the feel. If the chart is correct but the groove sounds wrong, your ear has to win.
That matters in real playing situations. A chart can show you the skeleton of a groove. It can tell you where the kick lands, where the snare answers, and how the fill fits inside the bar. But only your ear can tell you whether the beat sits deep, whether the cymbal pattern is relaxed, or whether the phrase needs more space.
Here’s what I tell students early on:
- Use notation as a guide. It helps you organize time and identify patterns quickly.
- Use your ear as the judge. A beat that’s technically correct can still sound awkward.
- Sing or count what you read. If you can’t hear it internally, you don’t fully know it yet.
- Practice daily. Even 10 minutes a day of focused reading and ear training builds real fluency.
Reading drum music also improves your ability to play by ear. That might sound backward, but it’s true. When you see a written rhythm and connect it to a sound over and over, your brain starts recognizing those patterns faster in real songs.
That same listening habit supports broader ear training skills too. You’re learning to identify rhythmic shapes by sound, not just by sight. For drummers, that’s every bit as valuable as interval work is for melodic players. And while perfect pitch gets a lot of attention, rhythmic hearing is the skill that helps you survive on a gig.
The Anatomy of a Drum Chart
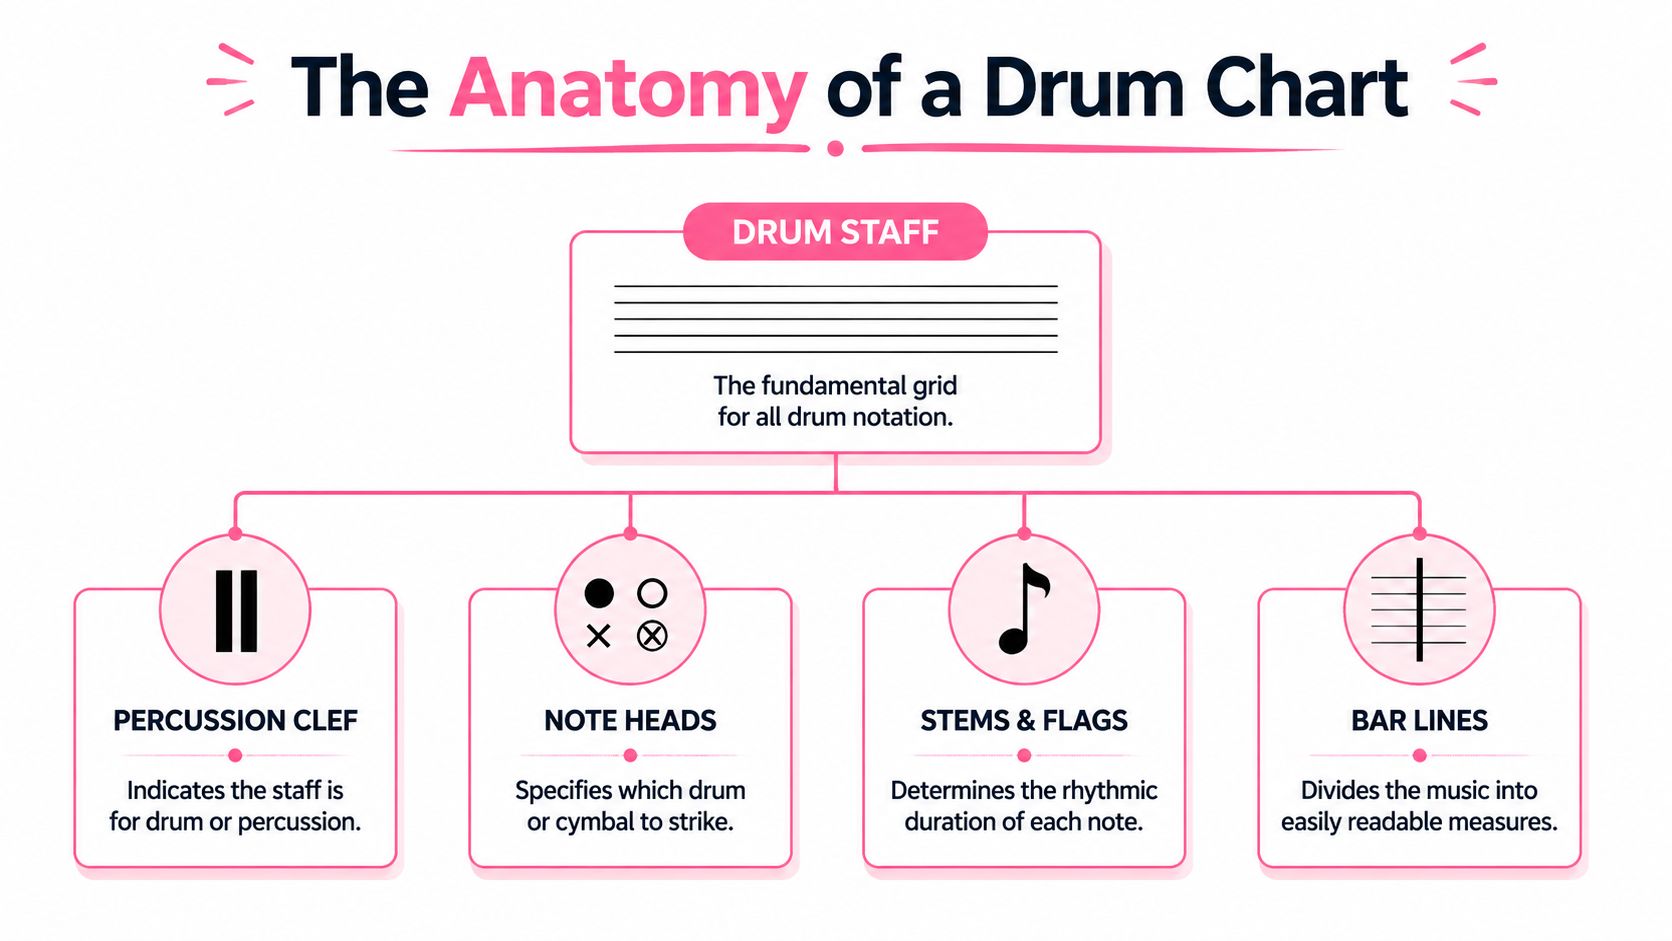
A drum chart looks busy until you know what each part is doing. Then it starts to feel logical.
According to School of Rock’s beginner guide to drum notation, drum notation uses a standard 5-line staff, is read left to right, and uses symbol shapes to distinguish instruments. Drums are commonly shown with solid noteheads or dots, while cymbals are marked with an “x.” The same guide explains that the time signature at the start tells you how many beats are in each measure and what note value gets the beat. In 4/4, there are 4 beats per measure and each beat is a quarter note. In 6/8, there are 6 beats per measure and each beat is an eighth note.
The staff is your map
Think of the staff like a visual layout of the kit.
Lower notes usually point you toward lower sounds, often parts played with the feet. Higher notes usually represent sounds played with the hands, especially cymbals. You won’t see every publisher place every drum in exactly the same spot, but the overall logic stays consistent enough that you can learn the system.
Here’s a simple way to think about common symbols:
| Chart element | What you look for | What it usually means |
|---|---|---|
| Staff | Five horizontal lines | The grid where drum parts are placed |
| Percussion clef | Two vertical lines at the start | This is for percussion, not pitched melody |
| Solid notehead | Round dark note | A drum sound such as snare, tom, or kick |
| X notehead | X-shaped note | A cymbal sound such as hi-hat or crash |
| Bar line | Vertical line through the staff | The end of one measure and start of the next |
Once you start seeing the chart as a map instead of a code, the page relaxes. You don’t need instant mastery of every symbol on day one. You need a working sense of where sounds live.
What the symbols tell you
A note on a drum chart answers two questions. What do I hit? And when do I hit it?
The notehead shape helps with the first question. The note’s position on or around the staff also helps. Cymbals often sit high and use x-shaped heads. Drums usually use regular noteheads. That one visual difference clears up a lot of beginner confusion.
The time signature answers a bigger timing question before the groove even begins. It tells you how the measure is organized. If you don’t know the beat framework, the rest of the chart won’t make much sense.
Don’t memorize random symbols in isolation. Tie every mark on the page to a real sound on the kit.
That’s also where ear training enters the picture. When you look at a hi-hat pattern written with x noteheads, don’t just identify it visually. Hear it. Tap it on your leg. Say it out loud. Reading becomes much easier when your ear starts expecting the sound before your hands play it.
Feeling the Rhythm By Counting Subdivisions
Most reading problems aren’t instrument problems. They’re timing problems.
A student will often know which note is the snare and which note is the hi-hat, but the groove still falls apart because the internal pulse isn’t steady. The cure is subdivision. Instead of staring at a note and hoping your hands place it correctly, you count the space inside the beat.
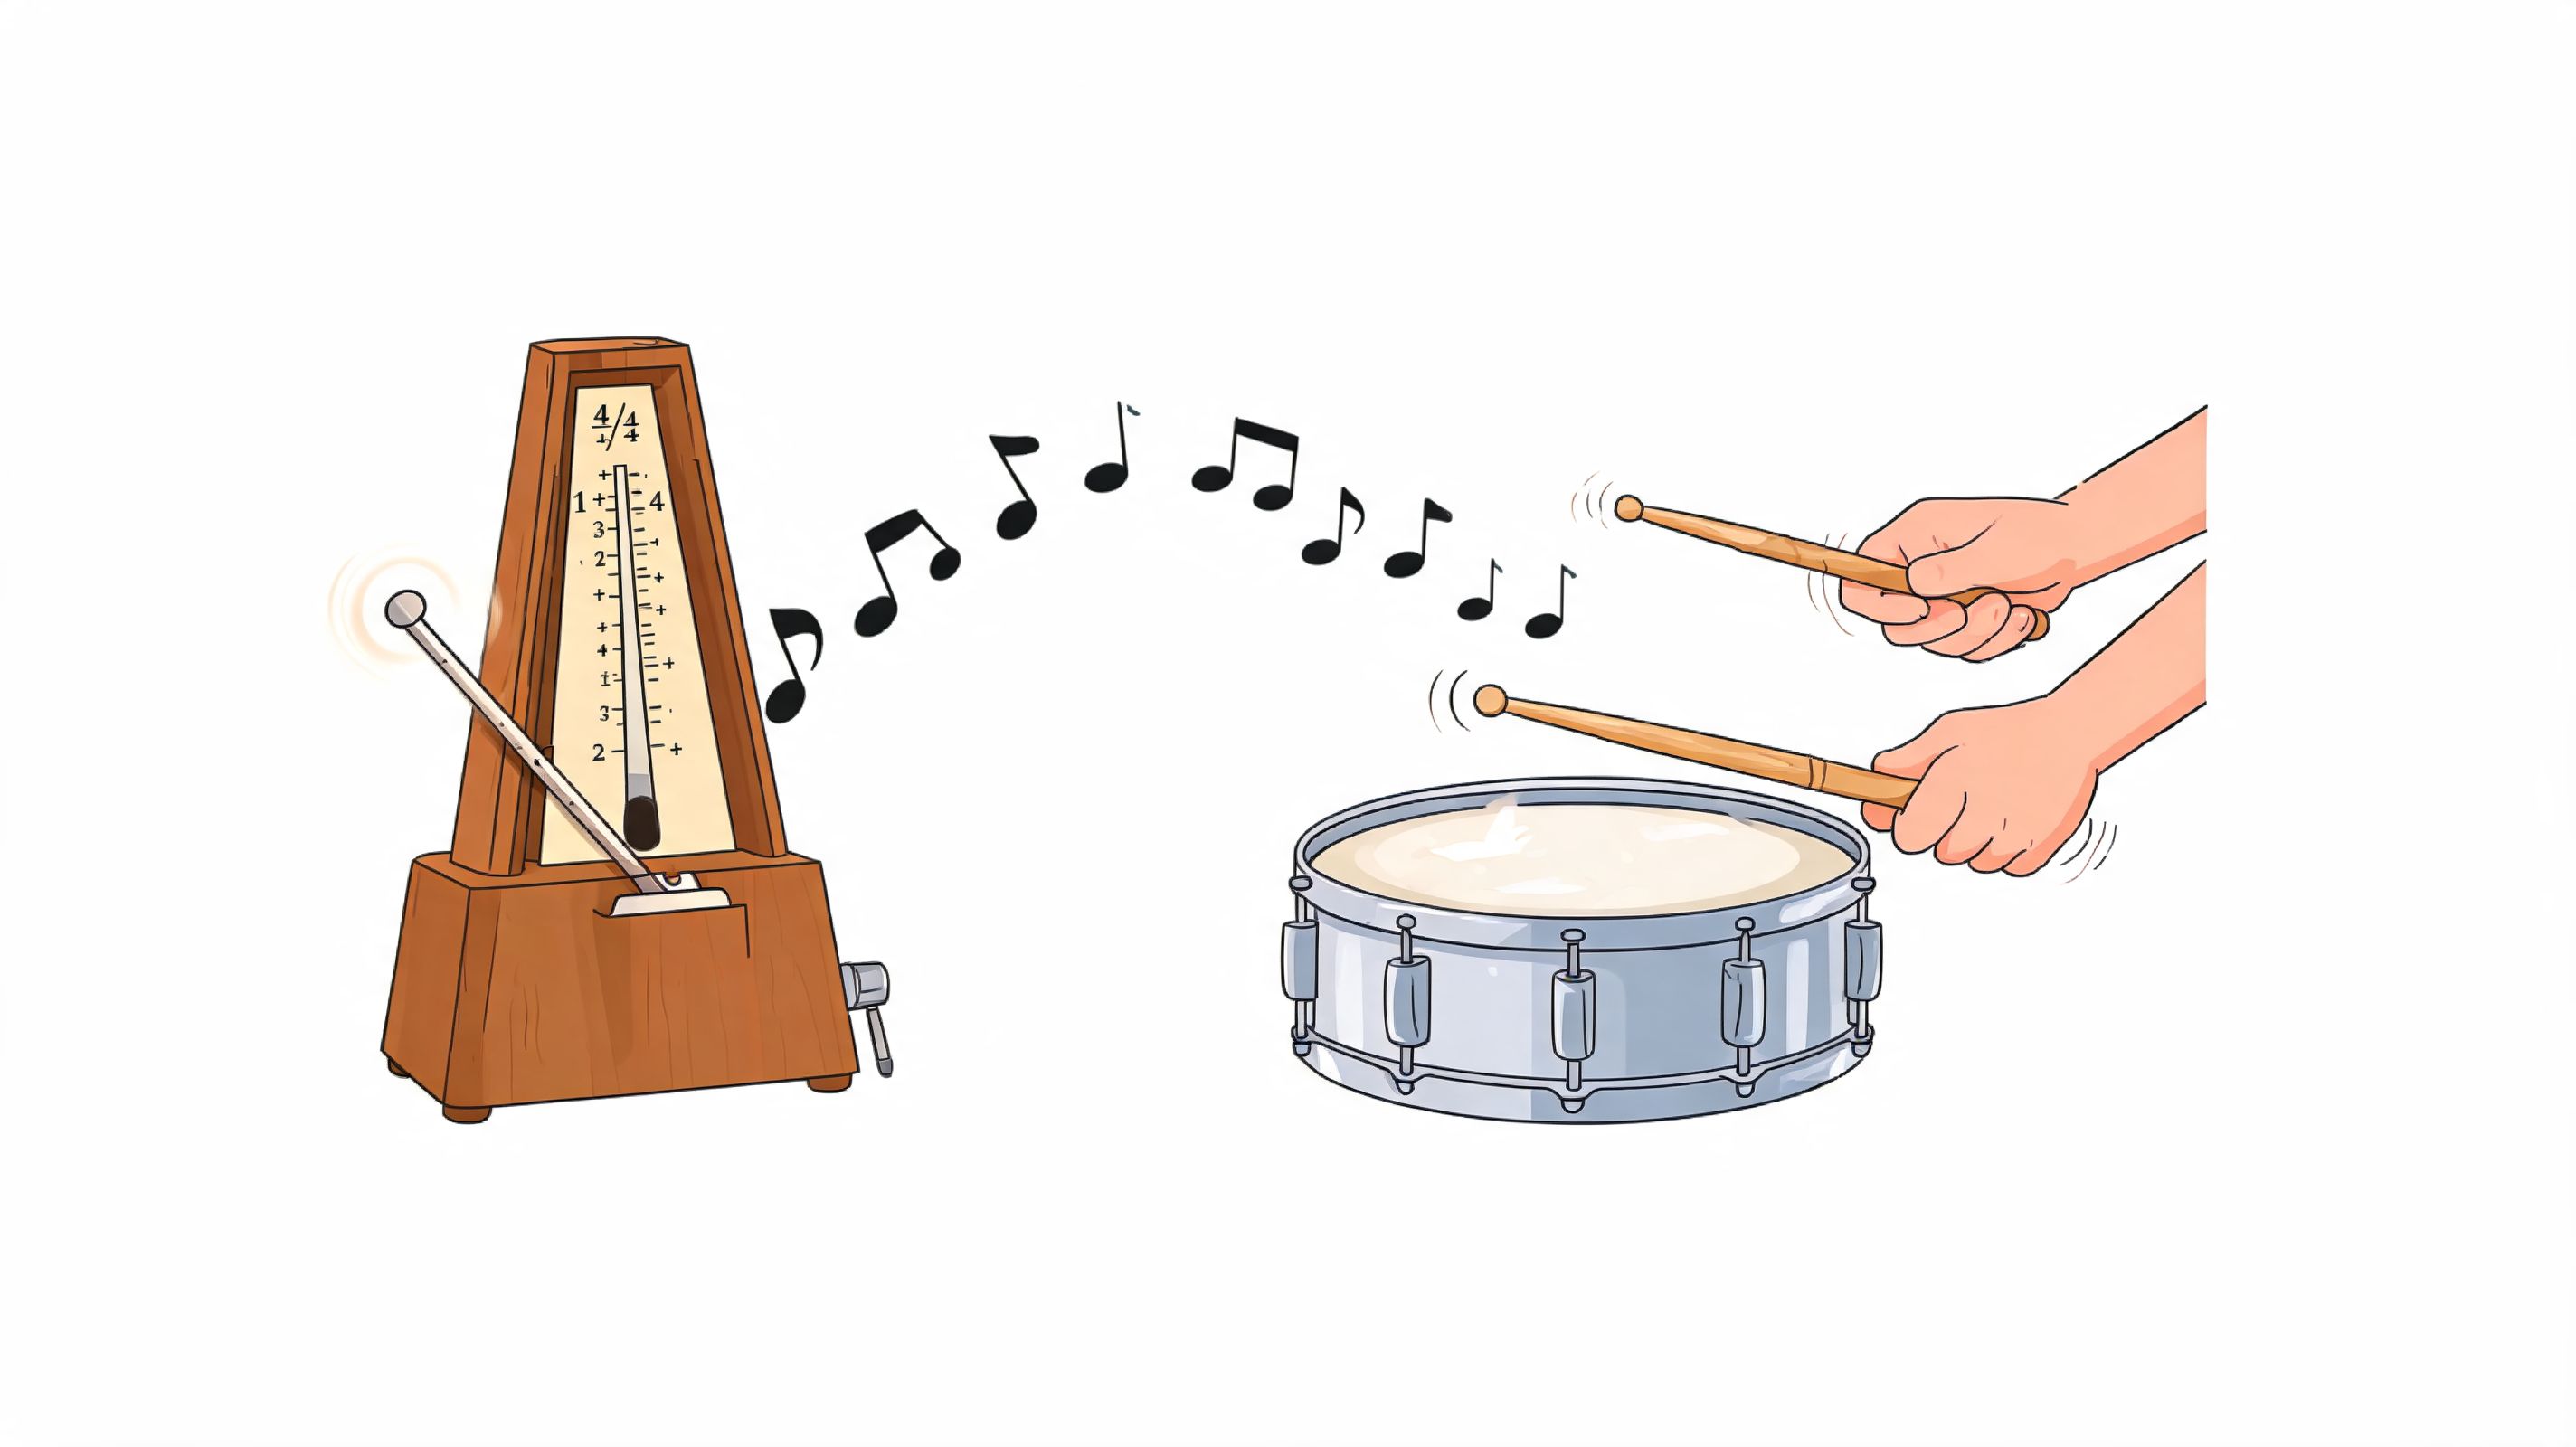
Count the grid before you play the part
As explained in this breakdown of drum notation reading, a reliable method is to count by subdivision rather than note names alone. In 4/4, the notes and rests for each limb must add up to the measure’s total beats. Common note values include whole, half, quarter, eighth, sixteenth, thirty-second notes, plus triplets, which place three notes in the time normally occupied by two.
That sounds technical on paper, but the practical version is simple:
- Quarter notes feel like the main pulse. Count them as 1 2 3 4.
- Eighth notes divide each beat in two. Count them as 1-and-2-and-3-and-4-and.
- Sixteenth notes divide each beat in four. Count them as 1-e-and-a 2-e-and-a and so on.
- Triplets split the beat into three even parts. You should hear them as a different shape, not as rushed sixteenths.
If your timing slips, slow down and speak the counts out loud. That’s not beginner behavior. That’s musician behavior.
For steady timing, it helps to practice with a click. A simple online metronome tool for daily timing practice can keep your counting honest while you clap, tap, or play the chart.
If you can say the rhythm clearly, you’re much closer to playing it cleanly.
How rests create groove
Beginners often treat rests like empty space. They aren’t empty. They’re part of the rhythm.
A rest tells you where not to play, and that choice shapes the groove just as much as the notes do. A snare hit feels strong partly because of the silence around it. A syncopated kick pattern feels interesting because it leaves space in places your ear expects sound.
Try this sequence when you practice a new bar:
- Clap the rhythm only. Ignore the drum voices for a moment.
- Count the subdivision out loud. Keep the pulse even.
- Notice the silence. Feel where the rests land.
- Move it to the kit. Add the actual drum voices once the timing is stable.
Many students improve fast when they stop trying to “read the beat” and start building the time grid first. That approach also strengthens play by ear skills. When you listen to a groove in a song, your ear begins hearing the subdivisions underneath it, which makes transcription and improvisation much easier.
Adding Life and Expression To Your Playing
A correct groove isn’t always a musical groove.
Two drummers can play the same written pattern and sound completely different. One sounds flat. The other sounds alive. The difference usually comes from dynamics, accents, touch, and intention.
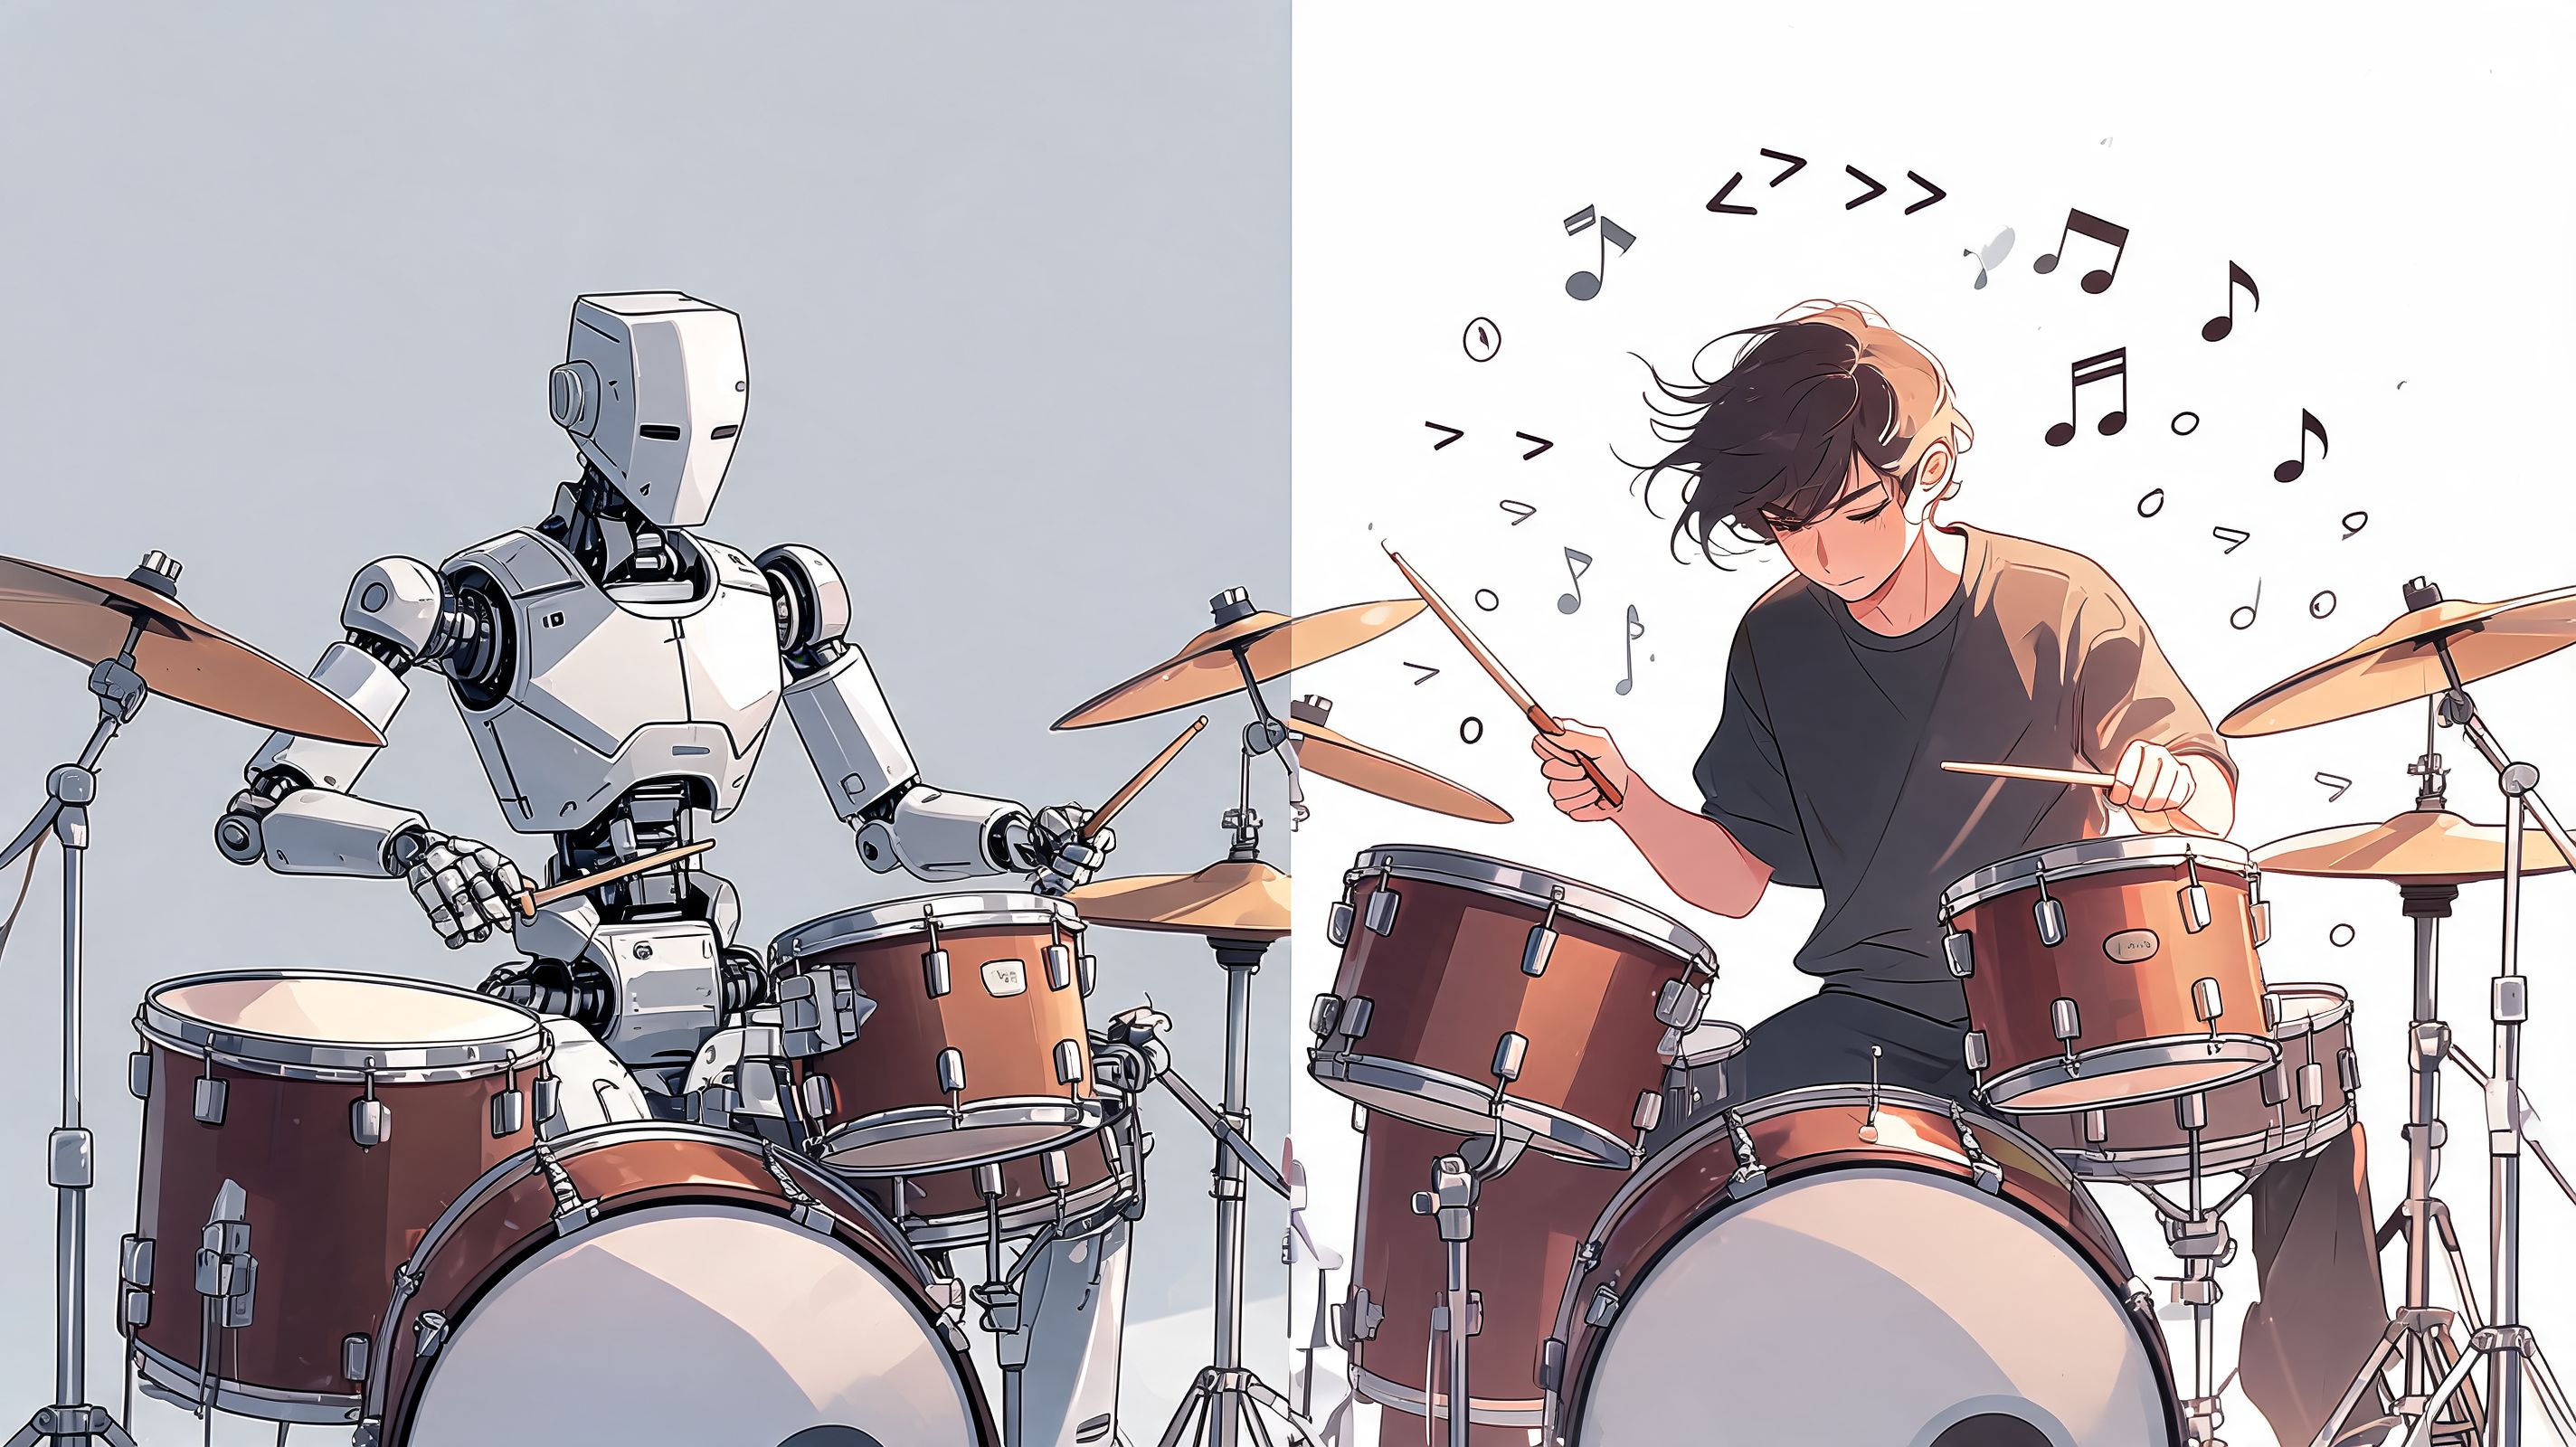
Why loud and soft matter
Notation often includes markings that shape feel, not just placement. An accent tells you a note should speak more strongly. Softer notes, including ghost notes, create texture and momentum. Sticking suggestions can help your hands flow through a phrase more naturally.
Here are some markings worth noticing when they appear:
- Accents often mean a note should stand out from the surrounding pattern.
- Ghost notes are played very softly. They add movement without stealing attention.
- Dynamic markings tell you whether a passage should be played softly or hit harder.
- Hi-hat markings can suggest closed, open, or changing cymbal color.
These details matter because listeners don’t hear notation. They hear contrast.
A backbeat that’s too timid won’t support the song. A ghost note played too loudly stops being a ghost note. An open hi-hat played without control can make the whole groove feel clumsy. The page gives you clues, but your ear has to decide whether the result sounds musical.
Hear the difference before you play it
Before your sticks touch the drums, try to hear the phrase in your head.
That habit changes everything. Instead of reading symbols as commands, you begin hearing them as instructions for sound and feel. That’s one of the strongest forms of ear training a drummer can build, because it links sight, sound, and motion at the same time.
If you want to strengthen that connection away from the kit, focused aural training exercises for musicians can help you get better at hearing detail instead of guessing it.
A chart can tell you where the accent is. Your ear tells you how strong it should feel inside the groove.
This is also where the idea of perfect pitch can distract people. For drummers, perfect pitch isn’t the point. Hearing nuance is. You want to notice whether the groove breathes, whether the dynamic shape makes sense, and whether your notes support the music instead of crowding it.
That listening skill is trainable. It isn’t reserved for “naturally musical” people.
Putting It All Together A Worked Example
Let’s make the page practical. A simple rock groove is enough to show the full process.
According to Drumeo’s guide to reading drum music, drum notation is standardized around measure-based counting. A time signature like 4/4 means 4 quarter-note beats per bar, and written music is divided into measures or bars so musicians can count, subdivide, and synchronize together. That framework is why even basic grooves become easier to organize once you read them one measure at a time.
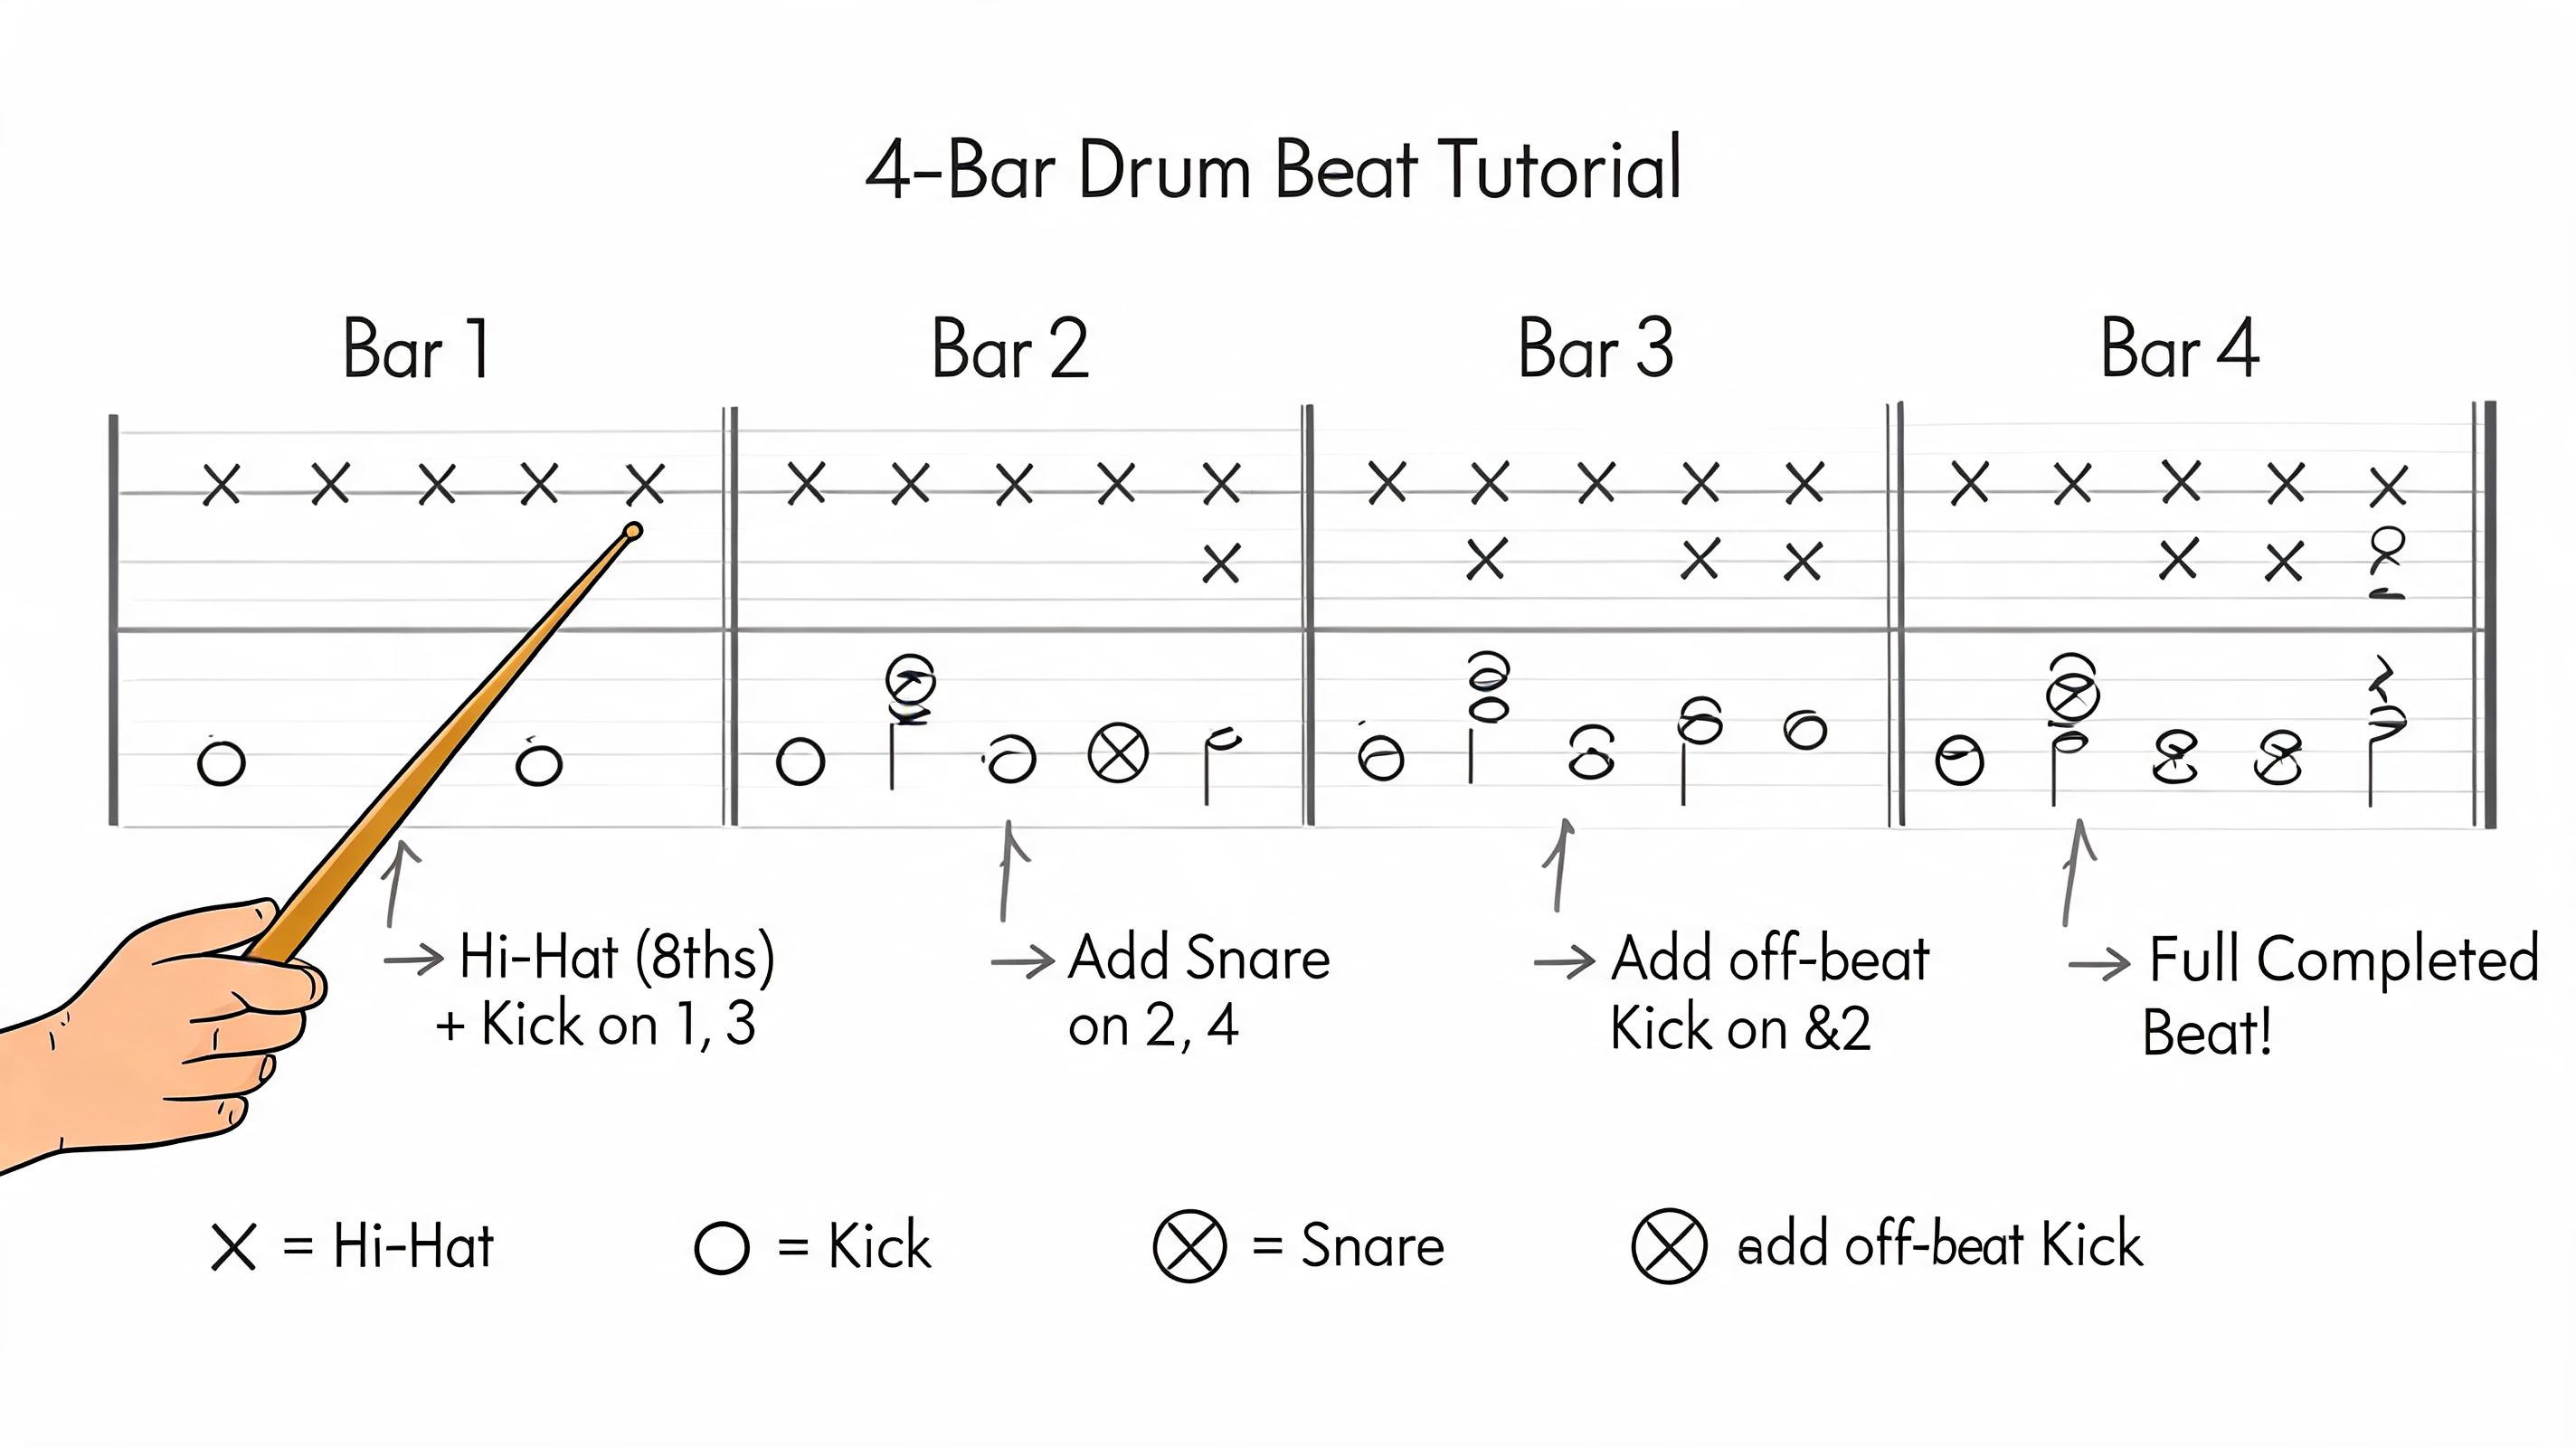
A simple four bar reading process
Take a common beginner groove: steady hi-hat, snare on the backbeat, kick supporting the pulse, then a short fill at the end of the phrase.
You don’t need to attack the full line at once. Read it in layers.
First, identify the sounds:
- x-shaped notes at the top suggest a cymbal voice, often hi-hat
- a regular note in the snare position gives you the backbeat
- lower notes point you toward the kick
- the final measure may shift to toms or a short snare-based fill
Then count the timing before playing:
- say the pulse out loud
- add the subdivision if the rhythm is tighter than quarter notes
- clap the fill without the kit so the spacing is clear
Many students rush the fill because they hear it as “faster notes” instead of as evenly spaced notes inside the same pulse. That mistake disappears when you keep counting through the bar.
Here’s a useful second pass once the groove is physically possible.

From chart to groove
Now listen for feel.
Is the hi-hat straight and even, or does it need more forward motion? Are the snare notes confident enough to define the groove? Does the fill sound like part of the phrase, or like you dropped a separate lick into the last bar?
Use this checklist when you work through any chart:
| Pass | What you focus on | What you ignore for now |
|---|---|---|
| First pass | Which instrument each note represents | Fine dynamics |
| Second pass | Counting and subdivision | Fancy stickings |
| Third pass | Accents, shape, and feel | Extra speed |
| Final pass | Playing musically with flow | Overthinking every note |
Read in layers. Sound first, time second, expression third.
That order matters. If you jump straight to performance mode, you’ll hide weak counting under busy motion. If you build the groove carefully, the chart starts sounding less like an exercise and more like music. That’s the point.
From Reading to Hearing A Daily Practice Plan
Reading improves fastest when it becomes a habit instead of a project.
You don’t need marathon sessions. You need consistency. 10 minutes a day is enough to make progress if those minutes are focused and connected to real listening.
A ten minute routine that works
Try this short routine with simple drum charts from songs you already know:
- Listen first for one minute. Don’t touch the sticks yet. Follow the groove and notice the pulse.
- Trace the chart for a few minutes. Move your finger left to right and match what you hear to what you see.
- Tap the rhythm on your lap. Keep the subdivision steady and count out loud if needed.
- Play slowly on the kit. Don’t rush to full tempo.
- Close the page and recall the groove. If you can sing or tap it from memory, it’s starting to stick.
That last step matters. If the chart disappears and the groove disappears with it, you were reading symbols but not hearing music.
Train your ear like a drummer
A drummer’s ear has to recognize placement, spacing, balance, and feel. That’s still ear training, even if you’re not naming intervals or chasing perfect pitch.
Try two simple exercises every week:
- Reverse reading: Listen to a basic beat and write down where the kick, snare, and cymbal land.
- Dynamic listening: Take one groove and play it three ways. Flat, musical, and exaggerated. Record yourself and hear the difference.
Use a music practice tracker for consistent daily sessions if you need help staying regular. What matters most is showing up often enough that your eyes and ears start working together automatically.
If you stay with it, reading stops feeling like translation. It starts feeling like recognition. You see the page and already hear the groove.
If you want to build that connection between reading, listening, and playing by ear, Trill: Ear Training Daily gives you a focused way to practice it every day. It’s built for musicians who want stronger ear training, better chord and interval recognition, and more confidence to play by ear instead of guessing. Even a short daily session can help you hear music more clearly and turn that hearing into real musical freedom.